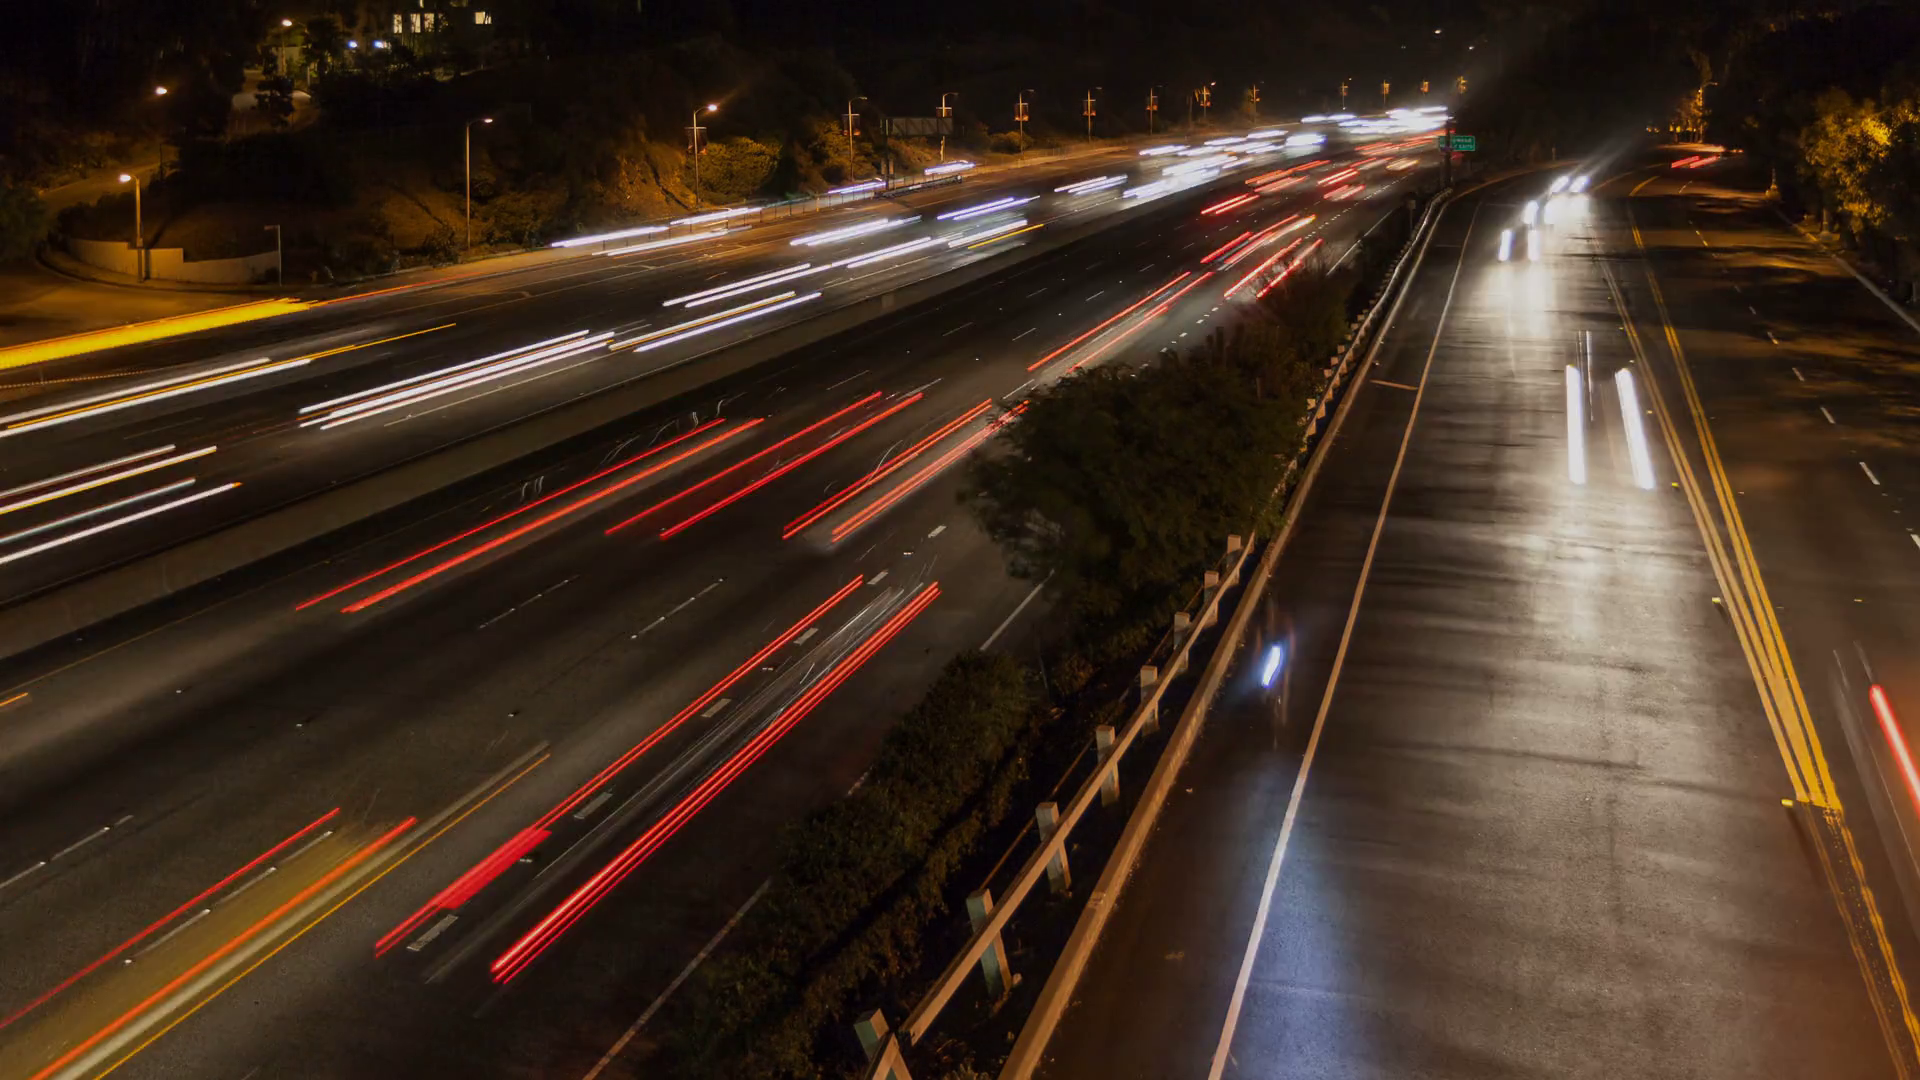

Time-lapse photography is extremely interesting. It’s also very interesting from a viewing perspective. Most of us have no idea how it’s actually done. Let me clarify. The concept is relatively simple, but the technique itself requires a lot of work. Basically, you are recording images of a scene or an object which has a slow state of change, which then turns into a video that is played back at high speed. An easy way to get this effect would be to have your camera set on something that changes slowly – clouds, for example. Then start taking a series of photos for hours or even days. You can’t move your camera from this location though. Hours and hours of photos are compressed into a video with only a few minutes of playtime. Which is how the time lapse effect is produced.
Fundamentals
Under normal circumstances, every one second in a video comprises of 24-30 frames of photos, calculated with the unit fps (frame per second). If you watch a 2 minutes video at 24 fps, that means it’s made up of 2880 photos (frames) animating at high speed. To create a Time-lapse effect, you basically reduce the interval for each shot and merge them into a 24-30 fps video. E.g., if the sun takes 12 hours to set and you take a photo every 1 minute, you will have 720 photos. With a 24 fps compression, you’ll have a video of sunrise to sunset in 30 seconds. Isn’t that amazing?
Choose Your Camera
A DSLR (Digital Single-lens Reflex) camera is a better choice for time-lapse photography compared to point-and-shoot camera or others. It has higher output quality and better control. Don’t let this bog you down. It can be achieved with other cameras – even an iPhone. But your best bet is a DSLR. That said, you’re going to need some equipment to help you out. Like what?
Tripod: It is important to make sure your camera is stationary. Of course, you can do it without a tripod, but the choices of subjects will be limited and challenging to have your camera maintain stability.
Intervalometers: Intervalometers (some call it remote control) is a device, an add-on that usually doesn’t come with your camera. What it does is it allows you to set your camera to hit the shutter button at the interval you prefer, e,g., every 1 second, every 10 seconds or every 1 minute.
Tips
- Do test shots. Don’t start shooting right away. Always do some test shots to ensure you are getting the right angle and composition you want.
- Manual mode for all. It is recommended that you shoot in manual mode with manual shutter speed, aperture, exposure and white balance to avoid camera trying to adjust itself when the environment of the subject gets unexpectedly darker or brighter.
- Extra batteries. If you are time-lapsing outdoors then good batteries are essential. It’s good if your camera battery can be changed without removing the camera from the tripod. If the time-lapse is taken indoors it is better if you use the camera’s main charger to avoid draining the battery.
- Extra Memory cards. You need to make sure you have enough memory space for the Time-lapse. You can make your own calculations to get free memory amount you need for your desired time-lapse. Just find out what’s the file size of one picture and then calculate how much pictures approximately will be taken, and you can do the math to get a result of memory space you need for your time-lapse.
- Choose a strategic spot. Set the tripod up securely and in a place where it will not be moved or knocked over easily, especially if you are shooting in a busy street.
- Keep an eye on your camera. Always keep your camera and the equipment at sight during the shooting or at least make sure they are safe from filching.
Have a look at a few more incredible time lapse videos. What do you think? Is this something that you would be interested in doing? I love seeing time lapse videos where cars are involved, for some reason. That, and weather. The last video in this post is really neat as well.